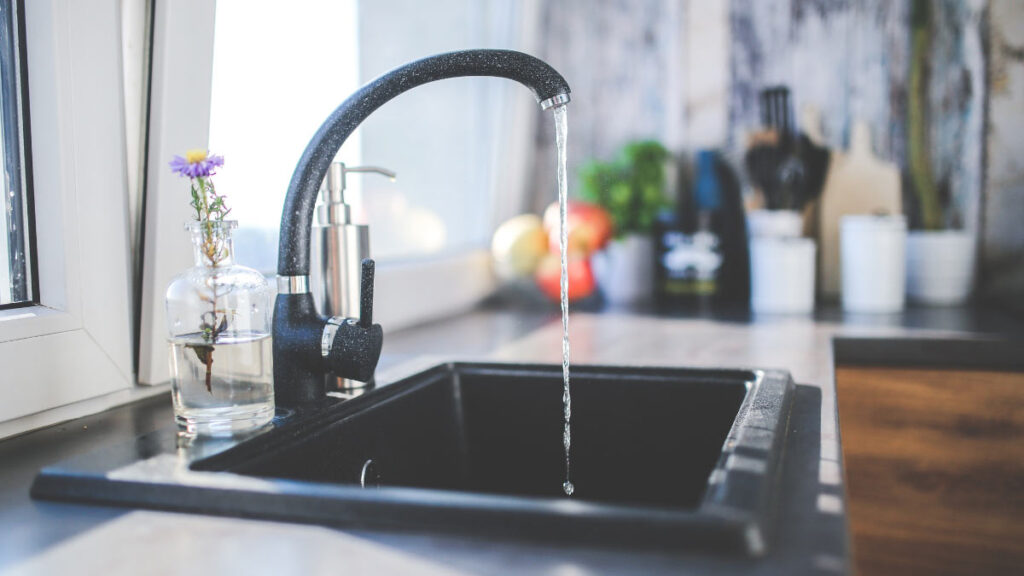
Have you ever wondered how to remove the aerator from moen kitchen faucet? If so, you’re not alone. Many people are looking for ways to easily and quickly fix their kitchens. Do you notice any problems with your Moen kitchen faucet? The water is not flowing as usual, right?
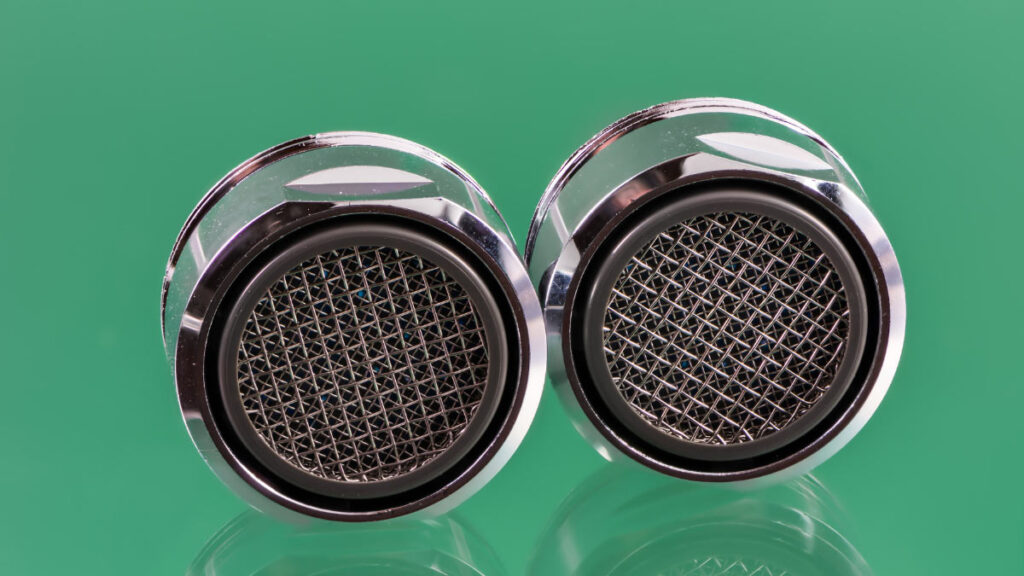
The aerator must be the main culprit behind this discrepancy because when it is used for a long time, then there is a chance to get blocked by different particles. So, in this situation, you have to remove the aerator to fix the case but the question is How to remove the aerator from Moen kitchen faucet.
Take it away, there are many alternatives while trying to remove the aerator, especially when it comes to Moen. Such as, you can use pliers to take it out of the position. You can also apply some oil or heat it with a hairdryer in order to take out the position. This will help you to easily remove it by loosening the tight fittings of the aerator.
Basically, Moen is located on the aerator, not on the faucet. By its unique design, Moen aerators sit inside the end of the faucet itself that’s why it is not possible to access without a special tool to remove it. But knowing how to remove an aerator from a Moen faucet is too important because it can help you clean or replace a clogged aerator to fix the issue. So let’s get started!
How to Remove the Aerator from Moen Kitchen Faucet?

It totally depends on the requirement of maintenance and condition of the aerator, if you want to remove this instrument to stop further deterioration of the faucet, and must make sure water flows properly. It is not an easy task, so you should be careful about it. So you can try one of the ways that are suitable for you.
Try with Your Hands First
If you have no instruments then you can try with your hands. First thing is that your hands should be dry so that you can easily handle the metals. Now you have to turn the aerator in the opposite direction to the way you screwed it first. But if it is too tight and you cannot remove it then you can use one of them, listed below.
- Pliers
- Hairdryer
- Oil
- Brush
- Lime-dissolving solution
- Rag
You should have an idea that parts like the aerator sometimes may be tricky to handle. You can try all these things as replacements to remove the aerator. If you notice that, there are any mineral deposits that have clogged the nozzle head, then we must say this technique will fix the issue by removing the deposit. But if this trick isn’t working, then you can try the next one.
Take the Pliers to Separate the Aerator
Pliers are so helpful instrument to remove an aerator. When you cannot unscrew the aerator with your hands, then you can remove it with pliers easily. You just need to catch the aerator with the pliers at the target aerator, so that you will not harm the faucet.
Move it against the side of fix screw. Otherwise, it becomes tighter. Must be kept in mind that, never try to push the pliers too hard otherwise you can harm the aerator and the faucet too. The aerator is enough strong to bear any hit and pressure.
When you are handling a new faucet, then you should never run the pliers whimsically. In order to protect it, never forget to wrap it with a rag and run the pliers carefully. You can also try another technique to remove it.
As usual, Pliers are the most effective device to unscrew the aerator and they can easily remove it to clean, replace, or do whatever you want to do with it. But if it fails to separate the Moen aerator, then you can go for the techniques below to make the task easy.
Apply an Oil to Loosen the Threads
Sometimes the aerator becomes so tight and doesn’t come out of its place when it fits there for a long time without any touch. So, you can spray the oil that can lose the tight bonding between the aerator and screw.
Now, wait for some time so that it can enter inside and weaken there. Next, you have to take the pliers to remove the aerator.
Use a Hair Dryer
If the above tip cannot work then don’t be upset you can still try another easy technique. You just need to use a hairdryer and heat the aerator normally. This heat will expand the metal a little bit and make it easy to remove the aerator with little effort.
Clean or Replace the aerator

Basically, sometimes the aerator is blocked with debris and it has become unsuitable to use for you. But you can take a brush to clean away the debris or mineral deposits from here. But some grit cannot clean with a normal brush.
Then you can dip these parts into a lime-dissolving solution so that the hard dirt will clean. But if you notice that there is much rust over the aerator and then it is not able to clean, so now you should never use it again. Here, you need to change this and take a new aerator for better service.
Conclusion
Moen kitchen faucet has the ability to serve for a long time but when it is damaged, then you must have to remove and replace it. So we have explained some easy tricks on “how to remove the aerator from moen kitchen faucet”? You just have to find out the best ways of taking out a Moen aerator.
The most common way is to use pliers to remove it. Sometimes these instruments are not enough to do so, then you need to apply oil to the threads to loosen them. Well, you can also use a hair dryer to heat the aerator in order to make weaken the tight metallic fitting. After to removed, you have to clean the derbies with a brush or you can also replace them. So all you need to learn. We hope this article will help typo a lot!

![You are currently viewing How To Remove The Aerator From Moen Kitchen Faucet? [Updated 2023]](https://thekitchenwaves.com/wp-content/uploads/2023/02/aerator-from-moen-kitchen-faucet.jpg)
![Read more about the article Can You Microwave Vinegar? [Updated 2023]](https://thekitchenwaves.com/wp-content/uploads/2023/03/Can-you-microwave-vinegar-300x169.jpg)
![Read more about the article How To Use The Ninja Coffee Maker? [Updated 2023]](https://thekitchenwaves.com/wp-content/uploads/2022/12/How-to-use-the-ninja-coffee-maker-1-300x169.jpg)
![Read more about the article Are Yetis Microwave Safe? [Updated 2023]](https://thekitchenwaves.com/wp-content/uploads/2023/03/yetis-microwave-safe-300x169.jpg)